After several enjoyable games now of FoW, including the transition from V2 to V3, my gaming pals and I are looking to start a Normandy based campaign, or at least a series of linked battles, from the D-Day book. 'Cutting the Cotentin' for the Yanks and 'Breville Gap' for the Brits. The scenarios are also available for download from the FoW website.
We also considered that if we are going to do a Normandy campaign we should at least start properly with the beach assaults, and again a Utah beach, and a Sword beach mission scenario are available for download too. D-Day scenarios
here.
So I need to make a beach and defenses for my plucky German FestungsKompanie to defend!
In an earlier blog post I showed some simple Minefields and Barbed Wire Entanglements. I have pressed on and made several more of these now. I have also made a bunch of trench lines too, I'll show these in another post.
But the heart of the defence, has to be the bunkers, and whilst my boxed set FestungKompanie came with simple Tobruk style MG bunkers and also Tank Turret bunkers made from captured French tanks, I needed something a little bigger, so..
I've had my eye on the boxed set of Pillbox's from Battlefront. But I couldn't help think, I could make those, if only I could source the gun barrels.
Well I have to say I have found Battlefronts Customers services exceptionally helpful, and they were able to sort me out a set of gun barrels. So with that motivation I set to, to make the bunkers. I used the image from the boxed set on BF website for scale, plus the gun barrels themselves gave me a good reference point.
I also enjoyed going through the article series on the FoW website called "
Pimp my Bunker", which inspired me to have a go at making them at little more than the basic plain bunker.
So here's what I have managed so far.
 |
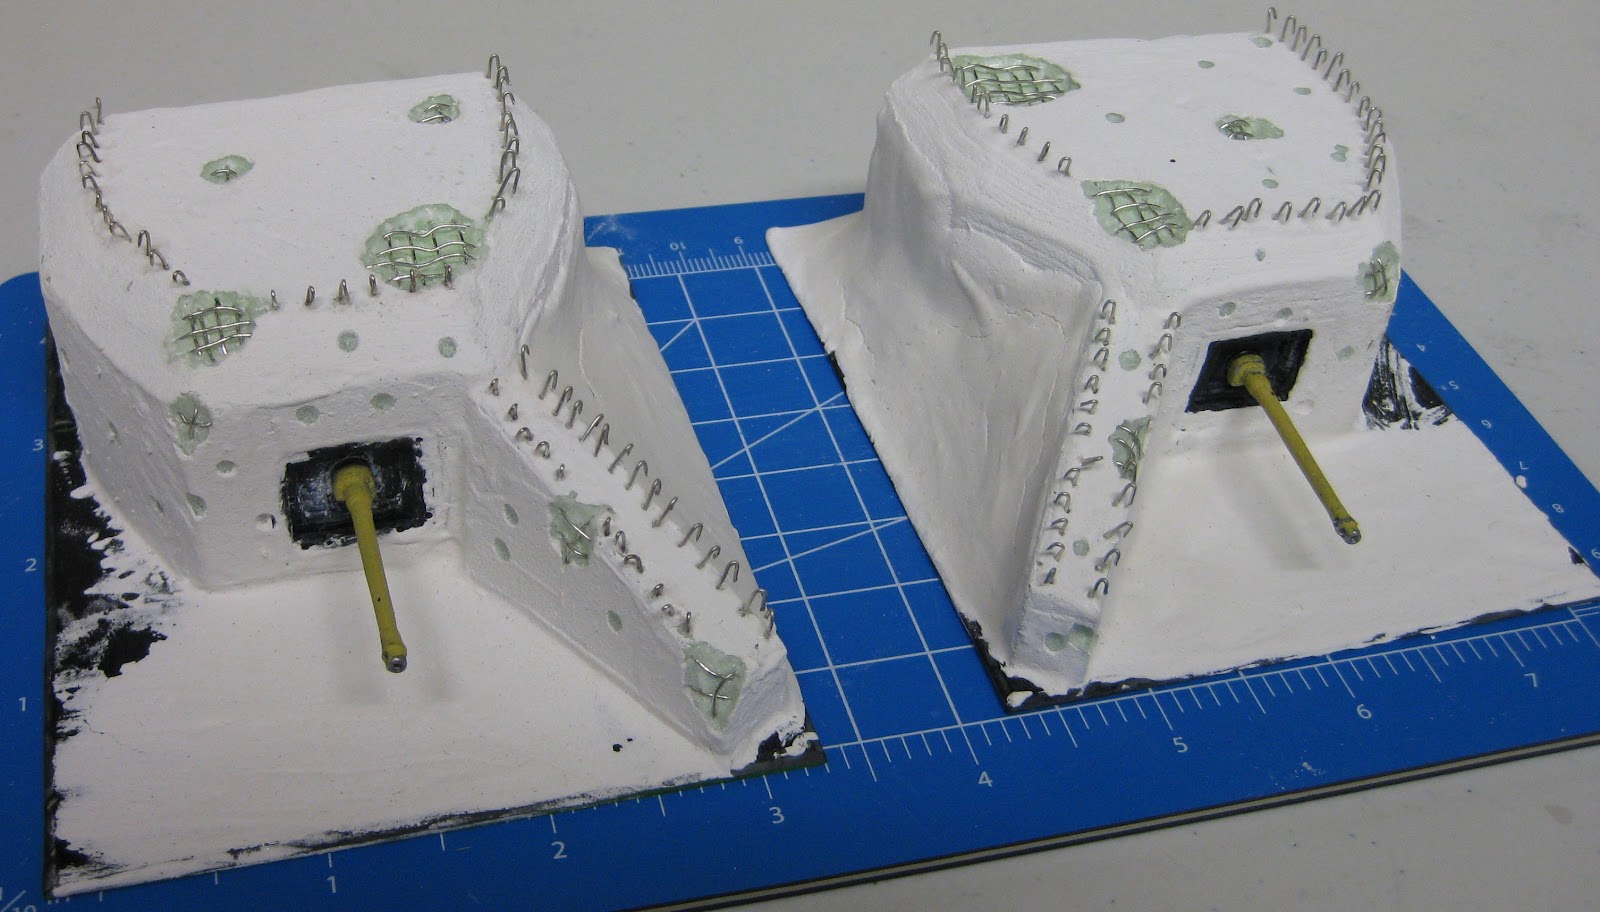
| Pillbox with defilade walls |
They are made from dense insulation foam, cut to shape. The inwardly layered gun embrasure caused some difficulty. I initially tried etching it out with a dremel rotary tool but this left an annoying burr in the foam I couldn't get rid of. I then tried cutting it out but I struggled to get the correct angle with the knife. I tossed the whole lot in the bin at that point and gave up...
An hour later I had a thought and fished them back out of the bin. I rummaged about in my store of modelling bits and came up with some 2mm plasticard sheet I had. This I cut out into squares and cut a central square out of two, sequentially smaller and stuck them together. I then drilled out the central hole to take the magnet, and stuck another piece on the back to hold the magnet in place. This whole piece was then recessed into the front of the pillbox.
 |
| Rear defilade wall for entry door |
So that would give me the basic pillbox bunker shape, and embrasure. I then based them on more of the 2mm plasticard, and allowed space at the back to add a small defilade wall for the bunker rear door, made from 3mm MDF. The whole thing was then skimmed coated in Polyfilla.
 |
| Stug shown for scale |
Then going from the Pimp my Bunker article, I grabbed a crepe bandage from work and started teasing it out to see how it will work as a camo net. I used the Dremel again to add the blasted out battle damage areas. The exposed rebar hooks are 15amp fuse wire. I found this wire to be just the right thickness. Sadly I ran out after doing what you see below:
 |
| The 88mm gun barrel, awaiting its own magnet for attachment |
So that's where I am up to now. Once I get more fuse wire I can press on with the rest of the hooks and add more rebar in the damaged areas.
 |
| The various guns available - Ive prep'ed the big ones ;-) |
Looking forward to blasting some allied armour with them...
Special thanks to Mike Haycock, at Battlefront Customer Service.